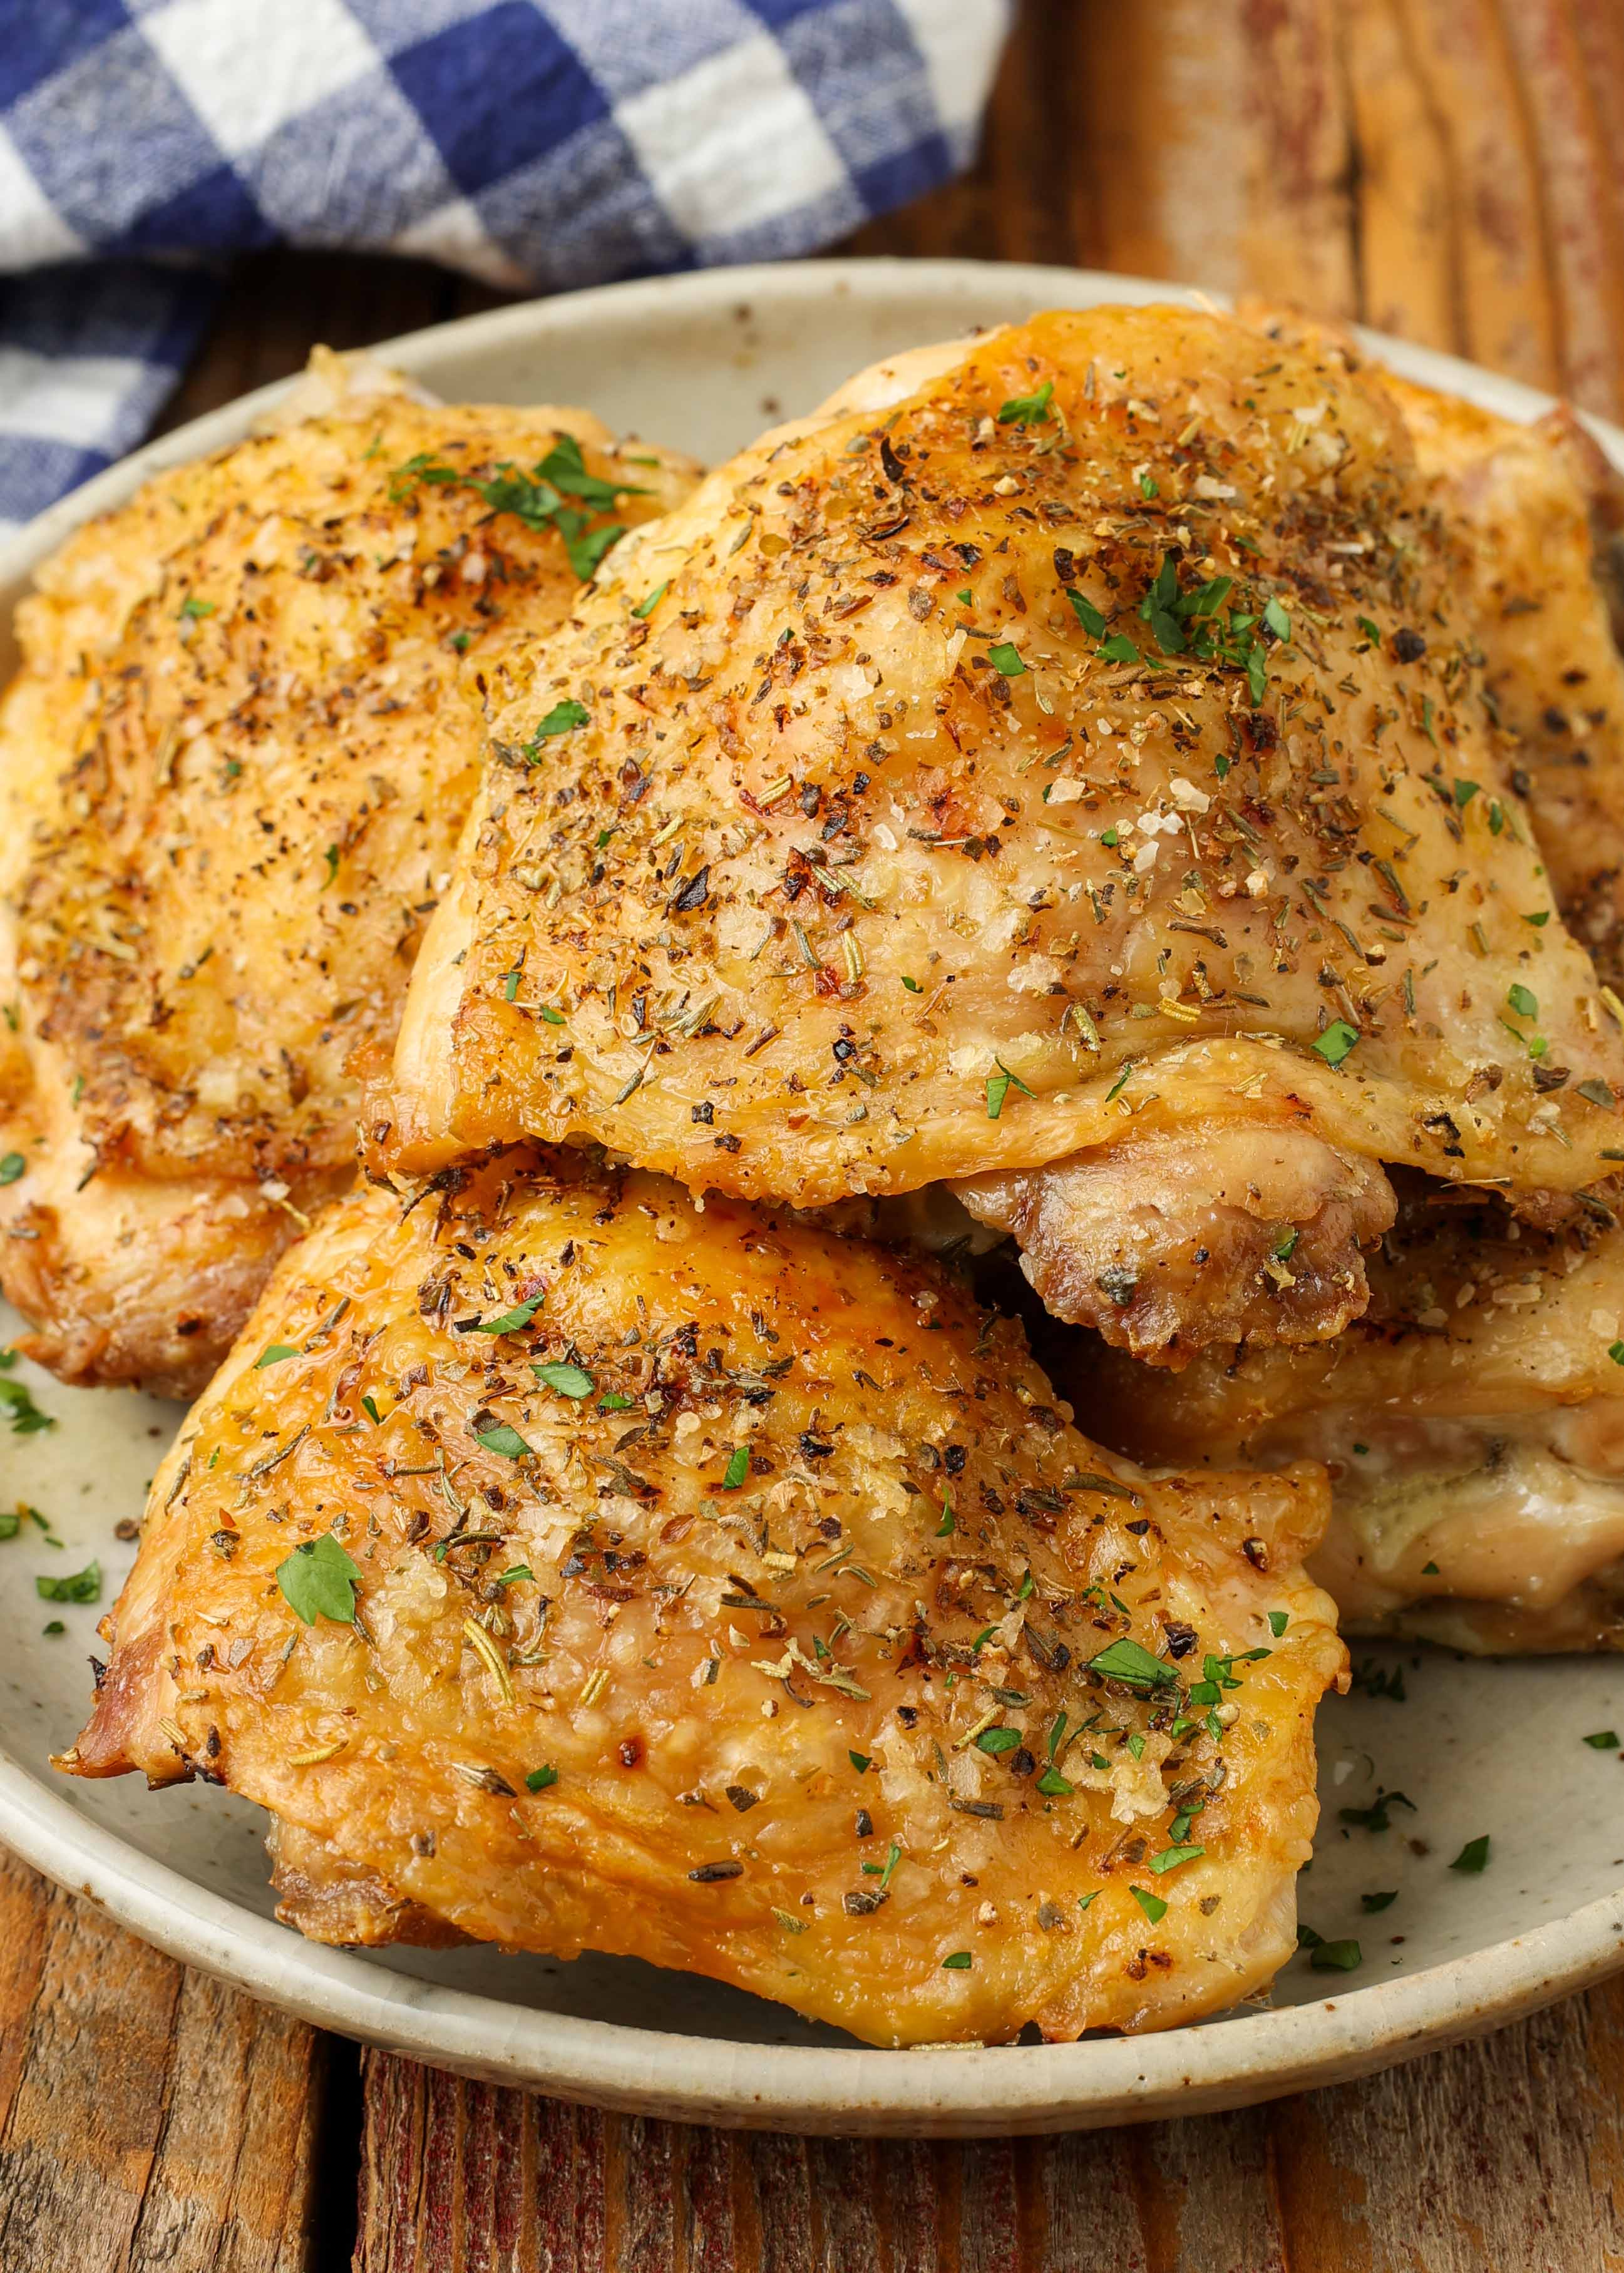
Oven-Fried Italian Chicken: Crispy Skin, No Deep Fry Mess
Tired of the greasy mess and unhealthy reputation that often comes with perfectly crispy chicken? Imagine sinking your teeth into succulent, juicy chicken with an impossibly crunchy skin, bursting with aromatic Italian herbs – all without a single drop of deep-frying oil. This isn't a culinary fantasy; it's the delicious reality of oven-fried Italian chicken. Forget standing over a hot stove, battling oil splatters, and spending hours on cleanup. This innovative approach to a classic favorite delivers all the craveable texture and flavor you desire, making it the ultimate
Minute Prep Crispy Italian Oven Chicken Dinner for busy weeknights and special occasions alike.
The secret lies in harnessing the power of your oven to achieve that coveted "fried" texture. By utilizing specific temperatures and techniques, we render the fat from the chicken skin, allowing it to crisp up beautifully and naturally, rather than relying on an external oil bath. The result? A healthier, easier, and just as satisfying alternative that will quickly become a cherished staple in your home. This comprehensive guide will walk you through every step to master the perfect
The Easiest Baked Italian Chicken for Juicy & Crispy Results, ensuring crispy skin, tender meat, and incredible flavor, every single time.
Why Oven-Fried Italian Chicken is Your New Weeknight Hero
In a world filled with endless dinner decisions, the oven-fried Italian chicken recipe stands out as a true game-changer. Its appeal extends far beyond just flavor, addressing many common dinner dilemmas:
*
Unmatched Ease: From start to finish, this recipe is designed for simplicity. With only about 5 minutes of active prep time, you can have your chicken seasoned and ready for the oven. It's truly a "set it and forget it" meal that liberates you from constant kitchen supervision. Contrast this with traditional deep-frying, which demands constant attention, temperature monitoring, and a significant time commitment.
*
Healthier Indulgence: Deep-frying introduces a substantial amount of additional fats and calories to your meal. By oven-frying, you allow the chicken's natural fats to render and crisp the skin, minimizing the need for excessive added oils. This means you can enjoy that satisfying crunch without the guilt, making it a smarter choice for you and your family.
*
No Mess, No Fuss: Perhaps one of the biggest deterrents of fried chicken is the clean-up. Hot oil splatters, greasy countertops, and the disposal of used oil are all avoided with this oven-based method. Lining your baking sheet with aluminum foil makes post-dinner cleanup a breeze – simply discard the foil and you're done!
*
Explosive Italian Flavor: Beyond the crispy texture, the simple yet potent blend of Italian seasonings infuses the chicken with a rich, aromatic profile that is both comforting and exciting. It's a flavor that appeals to nearly everyone, from discerning adults to picky eaters, guaranteeing clean plates all around.
*
Versatility for Any Occasion: While it's perfectly suited for a busy Tuesday night, this dish is elegant enough to serve guests. It pairs beautifully with roasted vegetables, a simple salad, or creamy pasta, making it adaptable to various meal plans and dietary preferences.
Mastering the Crispy Skin: The Secret is in the Oven, Not the Fryer
The holy grail of any chicken dish is that perfectly rendered, golden-brown, and impossibly crispy skin. With oven-frying, we achieve this through a strategic combination of heat and time, leveraging the chicken's own fat rather than submerging it in oil.
The Role of Chicken Thighs
For the ultimate oven-fried experience, bone-in, skin-on chicken thighs are your best friend. Here's why:
- Natural Juiciness: Thighs are naturally richer in fat and connective tissue, which keeps them incredibly moist and tender during the hour-long bake. The bone also contributes to even cooking and flavor.
- Ample Skin: More skin means more surface area to crisp up, guaranteeing that satisfying crunch with every bite. The fat within the skin is what renders out, creating that desirable texture.
While you can adapt this recipe for other cuts like bone-in breasts or drumsticks, adjust cooking times accordingly, and note that breasts may be less forgiving in terms of moisture retention.
The High Heat Method
Preheating your oven to a robust 400°F (200°C) is crucial. This high initial heat acts similarly to hot oil, causing the skin to immediately begin searing and rendering its fat. As the chicken bakes, this fat slowly melts and drains away, leaving behind a thin, crispy layer of skin.
The Skin-Side Up/Down Strategy
One of the most effective techniques for all-over crispiness is to start the chicken skin-side down for the first part of the cooking, then flip it skin-side up.
- Skin-Side Down First: Placing the chicken skin-side down for the initial bake allows the heat to directly hit the underside of the skin, kickstarting the fat rendering process evenly across the entire surface. This prevents a rubbery bottom and encourages thorough crisping. A slight drizzle of olive oil at this stage helps the seasonings adhere and contributes to the initial sizzle.
- Flip to Skin-Side Up: After about 20-30 minutes, flipping the chicken to skin-side up exposes the top of the skin to the direct radiant heat, allowing it to become beautifully golden brown and super crunchy. This is where the magic really happens.
The Rendering Process
As the chicken bakes, the fat from the skin melts and drips onto the baking sheet. This natural "self-basting" helps to cook the chicken from within while the hot, dry air of the oven dehydrates and crisps the skin. The final result is a crackling exterior that rivals anything achieved in a deep fryer, but without the excess grease.
Expert Tip: Trust your eyes! While an hour is a good general timeframe, ovens can vary. Keep a close watch in the last 15-20 minutes. You're looking for that undeniable deep golden-brown hue and visibly crispy, puckered skin. If it needs a little more time, let it bake until it reaches your desired level of crispness.
Simple Ingredients, Explosive Italian Flavor
The beauty of this
crispy italian oven chicken recipe lies not only in its technique but also in its incredibly straightforward ingredient list. You likely have most of these pantry staples already, making it an accessible and budget-friendly meal.
*
Bone-In, Skin-On Chicken Thighs: As discussed, these are the stars of the show for their flavor, juiciness, and crisping potential. You'll need about 6-8 thighs for a standard family meal.
*
Extra Virgin Olive Oil: Just a modest amount is needed – primarily to help the seasonings adhere to the chicken and promote initial browning. Choose a good quality olive oil for the best flavor. If substituting, opt for a neutral oil with a high smoke point like avocado oil.
*
Italian Seasoning: This herbaceous blend is the heart of our Italian flavor profile. Store-bought blends are perfectly convenient and delicious. However, if you're out, you can easily create your own with equal parts dried basil, oregano, and thyme. For an extra layer of complexity, consider adding a pinch of dried rosemary, garlic powder, and onion powder to your blend.
*
Kosher Salt & Freshly Ground Black Pepper: Don't underestimate the power of generous seasoning. Salt enhances all the other flavors, while freshly ground black pepper adds a subtle kick. Seasoning both sides of the chicken ensures maximum flavor penetration.
Flavorful Variations & Additions:
- Garlic & Lemon: Tuck a few smashed garlic cloves and lemon wedges under and around the chicken during the last 30 minutes of baking for a bright, aromatic boost.
- Fresh Herbs: A sprinkle of fresh parsley or basil after baking adds vibrant color and a burst of fresh flavor.
- Spice It Up: For those who love a bit of heat, a pinch of red pepper flakes can be added to the Italian seasoning blend.
- Homemade Italian Seasoning: Combine 2 tablespoons dried oregano, 2 tablespoons dried basil, 1 tablespoon dried thyme, 1 tablespoon dried rosemary (crushed), 1 tablespoon garlic powder, and 1 teaspoon onion powder. Store in an airtight container.
Step-by-Step Guide to Your Crispy Italian Oven Chicken
Ready to create your culinary masterpiece? Follow these simple steps for a truly exceptional oven-fried Italian chicken:
Equipment You'll Need:
- Large baking sheet
- Aluminum foil (for easy cleanup!)
- Measuring spoons
- Tongs or spatula
Instructions:
- Preheat Your Oven: Start by preheating your oven to 400°F (200°C). This high temperature is key for initiating the crisping process as soon as the chicken enters the oven.
- Prepare Your Pan: Line a large baking sheet with aluminum foil. This step is not just for convenience; it also helps contain any rendered fat, making cleanup almost effortless.
- Prep the Chicken (First Seasoning): Pat your chicken thighs dry with paper towels. This is a crucial step often overlooked, as moisture on the skin prevents crisping. Place the chicken thighs on the prepared baking sheet, skin-side down. Drizzle them lightly with about half of your olive oil. Then, generously sprinkle them with half of your salt, pepper, and Italian seasoning.
- Toss and Flip: Using tongs, carefully toss the chicken thighs to ensure they are well-coated with the oil and seasonings. Then, arrange them back on the baking sheet, this time skin-side up.
- Season Again (Second Seasoning): Drizzle the remaining olive oil over the skin-side up chicken. Sprinkle generously with the remaining salt, pepper, and Italian seasoning. Ensure the skin is thoroughly coated for maximum flavor and crispness.
- Bake to Perfection: Place the baking sheet in your preheated oven and bake for approximately 50-60 minutes. The cooking time can vary based on the size of your chicken thighs and your oven's calibration.
- Look for the Crisp: During the last 15-20 minutes, keep a close eye on the chicken. You are looking for a deep, golden-brown, visibly crispy skin. The internal temperature of the thickest part of the thigh (avoiding the bone) should reach 165°F (74°C) for food safety.
- Rest Before Serving: Once the chicken is beautifully crispy and cooked through, remove the baking sheet from the oven. Let the chicken thighs rest on the pan for 5-10 minutes before serving. This allows the juices to redistribute throughout the meat, ensuring every bite is incredibly tender and moist.
Serve your oven-fried Italian chicken hot with your favorite sides, such as roasted vegetables, a fresh garden salad, or creamy polenta.
Conclusion
Gone are the days when achieving perfectly crispy chicken meant deep-frying and the accompanying mess. This oven-fried Italian chicken recipe revolutionizes your dinner routine, offering a healthier, easier, and undeniably delicious alternative. With minimal prep, simple ingredients, and the magic of your oven, you can consistently deliver tender, juicy meat encased in an incredibly flavorful, crackling skin. This
crispy italian oven chicken recipe isn't just a meal; it's a testament to how intelligent cooking techniques can elevate everyday ingredients into extraordinary dishes. Embrace this culinary hero, make it your own, and prepare to delight your family and friends with a dish that will quickly become a beloved fixture at your dinner table.